Showing posts with label Breakfast. Show all posts

Friday, March 29, 2013

Super Fluffy Apple Banana Matzo Muffins

Every year during Passover, abstaining from baked goods isn't difficult... until the second day. And then the third day... These days, there are lots of store bought options as well as fantastic ideas online available to those that observe the holiday. 


Fluffy Apple Banana Matzo Muffins


These muffins are so yummy that you will want to make them with all of the extra matzo cake meal that you have left over from the holiday! Go ahead and do it... no one will know that these were intended to be Passover-friendly!


Always trying to get a better shot... Apple Banana Matzo Muffins


Super Fluffy Apple Banana Matzo Muffins

Makes approximately 20 muffins (depending on the size of your muffin pan and how full you fill each pocket)

Ingredients

1 2/3 cups all purpose matzo cake meal
1 1/2 teaspoon baking soda
1/4 teaspoon ground cinnamon (optional)
1/2 teaspoon salt
1 cup plus 2 tablespoons sugar
2 eggs
2 egg whites
1/2 cup apple sauce
3 1/2 bananas, very ripe, mashed
1 Gala apple, coarsly grated
2 tablespoons creme fraiche (or sour cream)
1 teaspoon vanilla extract

Canola oil for muffin tin (spread with a small napkin) or Non stick cooking spray


Directions

Preheat oven to 350 degrees F. 
Line muffin tin with liners or spray with non-stick cooking spray or wipe each pocket with a napkin and canola oil.

1. Sift together the flour, baking soda, cinnamon (optional) and salt. 
2. Beat sugar, eggs and egg whites with a whisk until light and fluffy, about 10 minutes. 
3. Add apple sauce, mashed bananas, grated apple, creme fraiche, and vanilla. 
4. Fold in dry ingredients.
5. Fill each muffin pocket about 2/3 full.
6. Bake 22 to 25 minutes, until toothpick in center comes out clean.

Eat, Drink & Be Yummy!

Thursday, February 7, 2013

Black Olive & Rosemary Bread


Baking used to intimidate me. I always felt that it was much more of an exact science than cooking. I saw cooking as an art form where I could add a pinch of this and a dash of that to create yumminess. Baking intimidated me because I thought that I couldn't be flexible and I didn't know how to make substitutions.... and then I learned how. 


Baking bread is a perfect example. I didn't have enough bread flour. I had 2 cups and the recipe calls for 3 cups. No problem. Add 1 teaspoon of Vital Wheat Gluten for every cup of unbleached all purpose flour. Next obstacle: more flavor. Plain bread is delicious but sometimes you need something more... so add it! Black olives and rosemary transforms this bread into an artisan masterpiece! Indeed, both a science and an art.


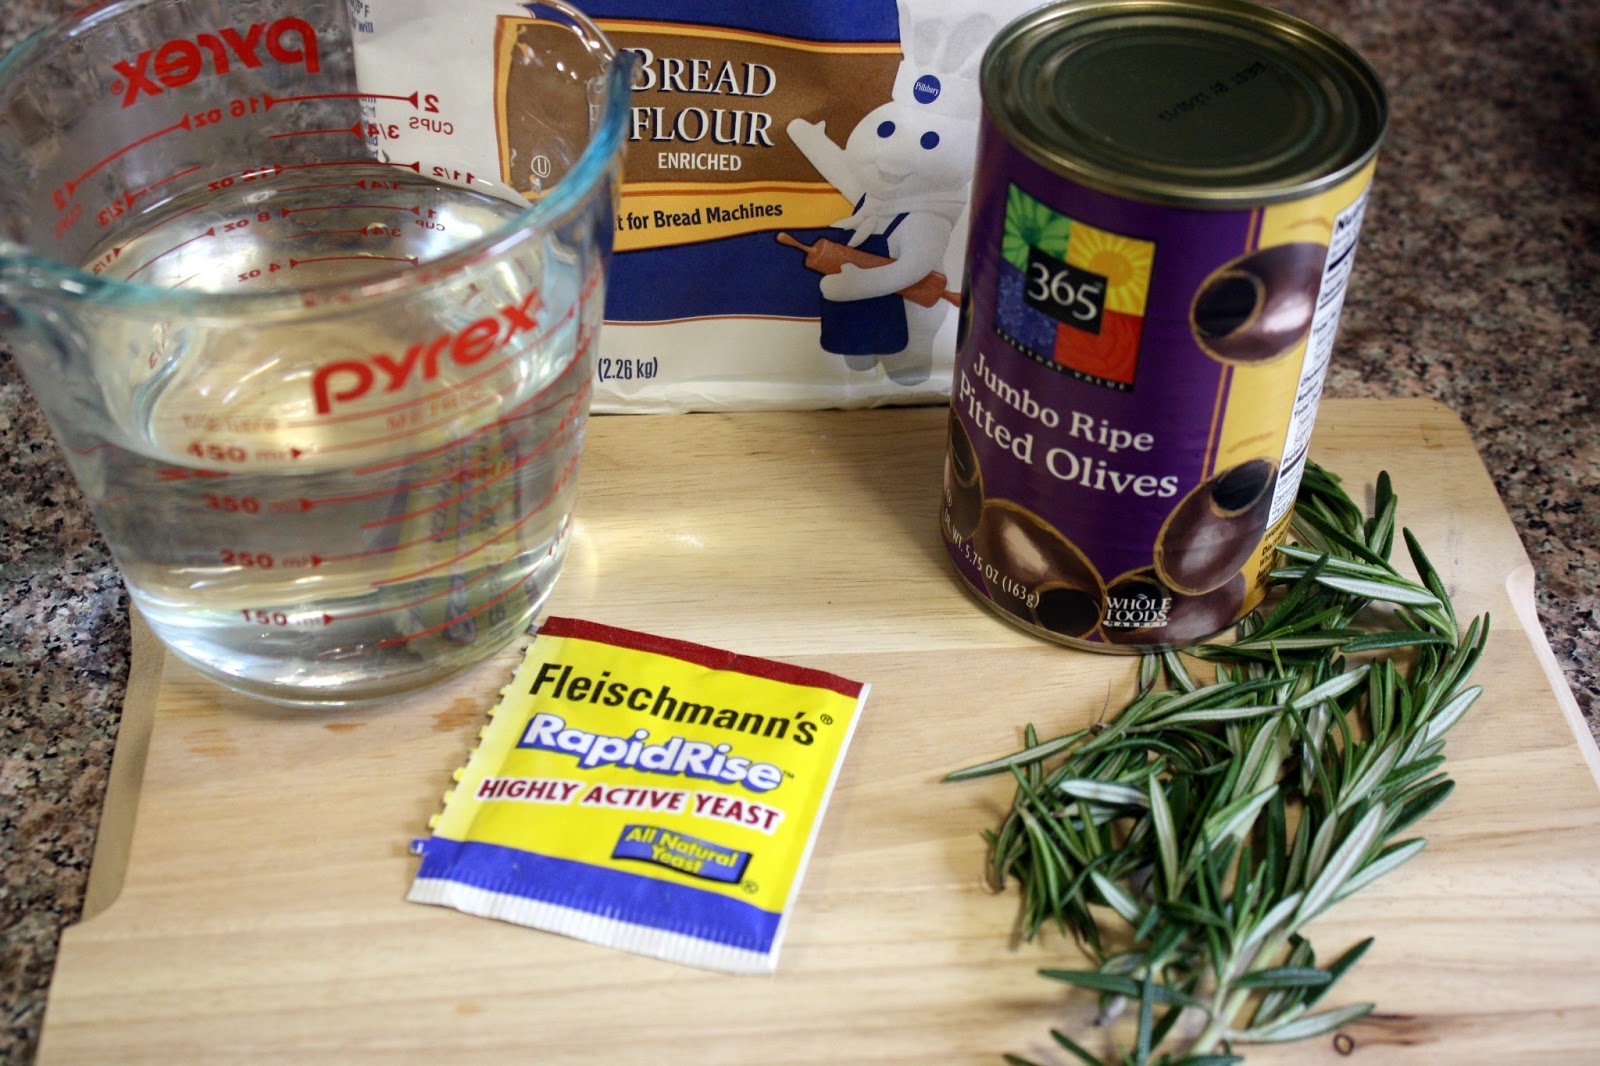
Ready to make olive and rosemary bread!


Well, almost ready. I only had 2 cups of bread flour. No problem! 
One cup of unbleached all-purpose flour + 1 teaspoon of vital wheat gluten!


Finely chop fresh rosemary. 
No one likes a long piece of rosemary. 
Trust me on that one.


How much rosemary? I used about a tablespoon because I didn't want it to 
overwhelm the olives... if you love rosemary, go for more!


About a cup of large black olives, quartered


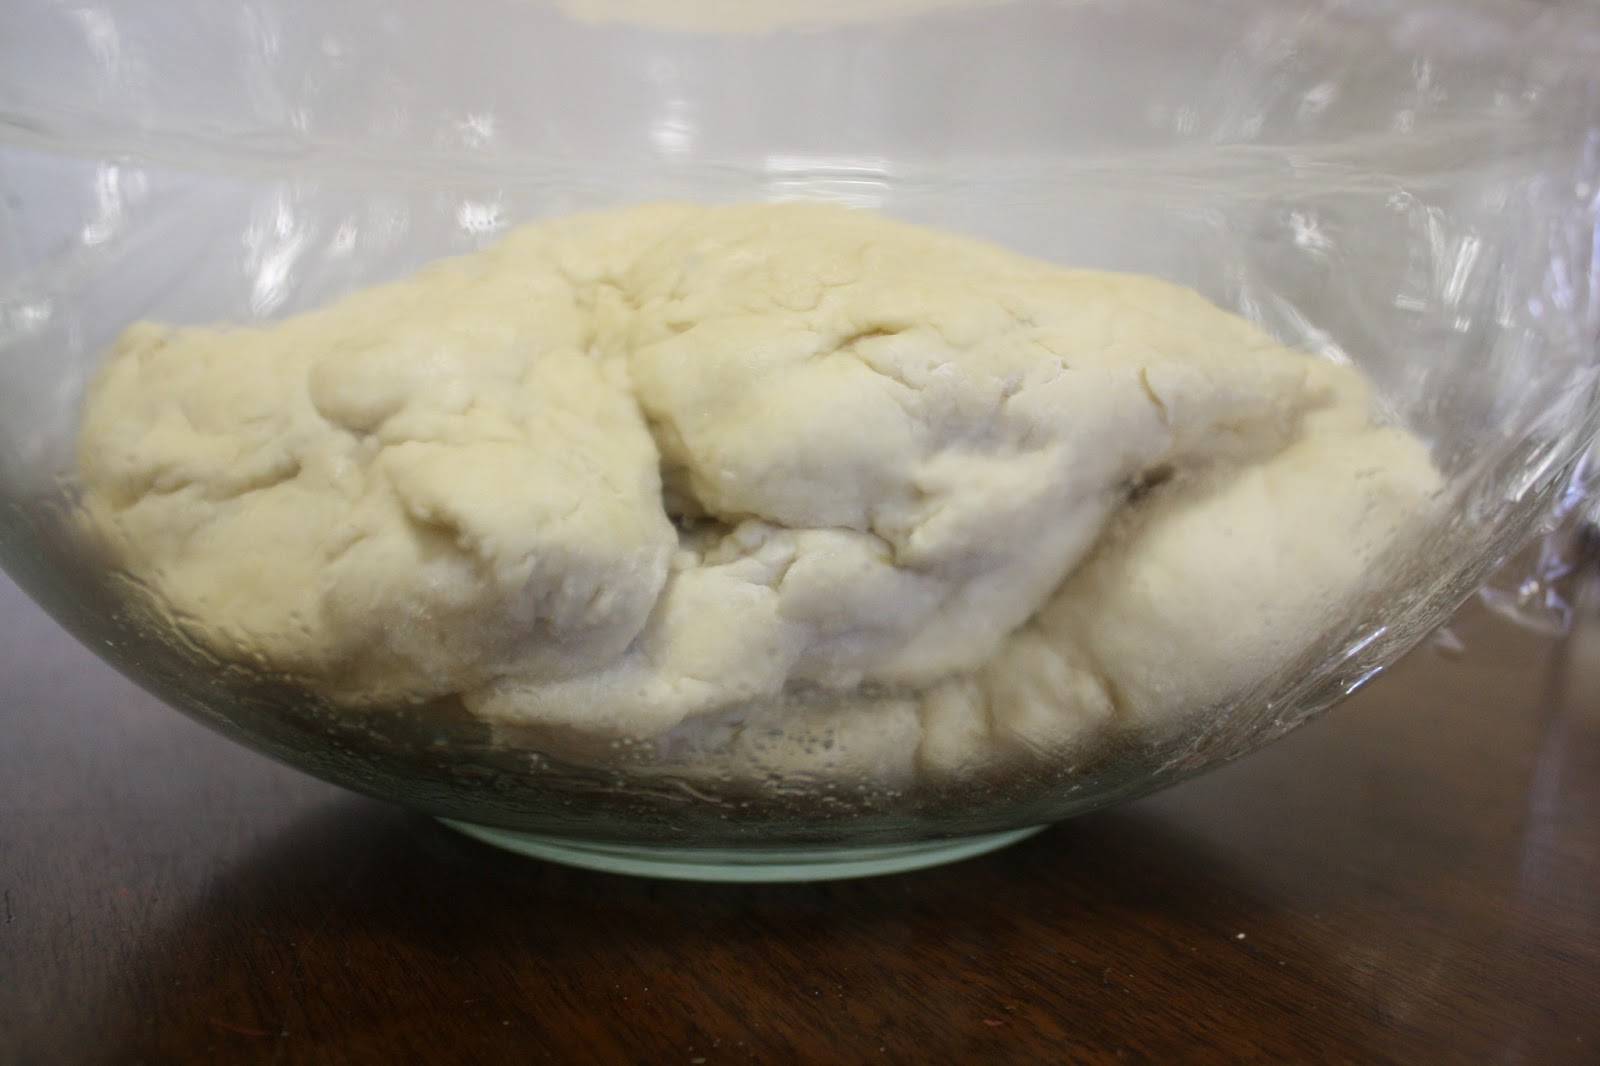
Incorporate the olives and rosemary into the dough and place it into a bowl greased with olive oil. Cover it with plastic wrap.


Let it stand for at least 4 hours... no need to watch it. It will rise.


Knead the dough for a bit, cover with plastic wrap and let it rest for another 30 minutes


Preheat oven & your baking vessel to 450 degrees. 
(I ended up swapping this pot out for a smaller square ceramic vessel)


Remove hot baking vessel from oven. Gently round out your dough and place it into the vessel. Cut an "X" into the top with a sharp knife to let it bloom.


Freshly Baked Black Olive & Rosemary Bread


Fantastic crust with a tight crumb and slight chew. Perfect!
Black Olive & Rosemary Bread


Black Olive & Rosemary Bread

Adapted from Mark Bittman's Speedy No-Knead Bread

Ingredients

2 cups bread flour
1 cup unbleached all purpose flour
1 teaspoon Vital Wheat Gluten1 packet (1/4 ounce) instant yeast
1 1/2 teaspoons salt
1 1/2 cups lukewarm water
1 cup large black olives, drained and quartered
1 tablespoon fresh rosemary, finely chopped
Olive Oil for bowl

Directions

1. Combine flours, gluten, yeast and salt in the bowl of a stand mixer.
2. Add water. With a dough hook attachment and mixer on med/low, combine until blended. Dough will be shaggy.
3. Add olives and rosemary. With your hands, combine until incorporated. (some of the olives will stick out and that's fine.)
4. Place dough into a large bowl, greased with olive oil. Cover and let stand for 4 hours, at room temperature. (You can let it stand for 8 hours and it will not over-proof)
5. In the same bowl, knead dough a little bit. Just a minute or so to let out some air. 
6. Cover bowl with plastic wrap and let rest another 30 minutes.
7. Preheat oven to 450 degrees, with your cooking vessel inside: 6-to-8-quart heavy covered pot (cast iron, enamel, Pyrex or ceramic).
8. Carefully remove vessel from oven. Smooth the dough into a ball and place it into the baking vessel.  
9. With a sharp knife, cut an "X" into the top of the dough to let the bread bloom when it bakes.
10. Cover with lid and bake 30 minutes, then remove lid and bake another 15 to 30 minutes, until loaf is beautifully browned. Cool on a rack.

Eat, Drink & Be Yummy!

Friday, February 1, 2013

Homemade Bagels


Everyone has a bucket list. Whether its written down or all in your head, it exists. Stuff that, one day, you'd like to do. Making bagels was on mine. I know. I know. I know. I live in the bagel capital of the world, so why would I want to make my own? There's a bagel store/shop on every corner. Every person I know has participated in at least one heated discussion about "the best bagel I ever ate was (fill in the blank)." Everyone's tried a bagel and has their own opinion about what makes a "good one". And that's exactly why I wanted to make my own.

What can I say, I like a challenge.


Before you attempt the recipe, here's my honest disclaimer. It's not difficult, but it's incredibly time consuming. If you're snowed or rained in on a weekend, it's a fun project to do with the kids. They'll love setting the timer for each step of the rise. If you eat the bagels out of the oven (please let them cool down at least 20 minutes) and up to 3 hours later, you will be rewarded with the yummiest bagel you've ever had. If you eat them up to 3 days later, they'll still taste good, but not as yummy as day 1. There's definitely "something" in bagel store bagels that lets them keep soft for longer than my bagels kept.

Next stop: bagel chips!
  
The starter recipe... from Food & Wine magazine


Poolish: Combine bread flour with yeast


Poolish: Add water and stir with a wooden spoon.
Cover with plastic wrap and refrigerate overnight.


Poolish: fluffy after overnight refrigeration


Poolish: will be very gooey... oh. goo.


Bread flour + unbleached all purpose flour + kosher salt


Place into an oiled bowl (make sure all sides of the dough are oiled).
Cover with plastic wrap and let sit for 2 hours. Until the dough has doubled in size.


Divide the dough into 12 equal balls. You can do it by eye, but...
Yes, I weighed the dough and then divided it into 5 3/4 ounce balls.


Place dough balls on a baking sheet, lined with parchment paper that has been oiled.


Lightly oil the top of each dough ball and loosely cover with plastic wrap.
The oil prevents the saran wrap from sticking to the dough. Let it rise for 30-45 minutes.


Make a hole in each dough ball, roughly 1/2 inch.
Let rise for another hour.


In a large pot with boiling water (with baking soda),
boil for 90 seconds, flip over and boil for another 90 seconds.


Remove from boiling water onto damp kitchen towel and add toppings.
Transfer to baking sheets lined with parchment paper that has been oiled.
Poppy Seeds!


Sesame Seed Bagels & Everything Bagels


Dozen freshly baked bagels!


Perfect for breakfast, brunch... or BRINNER! Breakfast for Dinner!


Happiness with Fairway Lox!

Homemade Bagels

Makes 1 dozen
Adapted from Food & Wine

Ingredients

POOLISH
1 1/3 cups bread flour
1/4 teaspoon active dry yeast

1 cup lukewarm water

DOUGH
1 teaspoon active dry yeast
1/4 cup honey

2 cups lukewarm water
5 1/3 cups bread flour
1 cup plus 2 tablespoons all purpose unbleached flour
1 tablespoon salt


Canola Oil

Large pot of water
1/2 tablespoon of baking soda
Poppy seeds, sesame seeds and coarse sea salt, for sprinkling


Directions

MAKE THE POOLISH 
1. In a medium bowl, using a wooden spoon, stir the bread flour with the yeast and water until combined. 
2. Cover with plastic wrap and refrigerate overnight.

MAKE THE DOUGH 

1. In the bowl of a stand mixer, combine the yeast and honey with water. 
2. Using a dough hook, mix in the poolish. 
3. Add the bread flour, all purpose flour and salt to the mixer. Beat at low/medium speed until a smooth, stiff dough forms, 5 to 7 minutes.  (Be careful that you don't burn out the motor on your mixer... then you'll be kneading by hand!!)
4. Transfer the dough to a lightly floured work surface and knead for 1 minute. (Assuming that your mixer did most of the work.)
5. Form the dough into a ball and transfer to a large, canola oiled bowl. Flip the dough over to make sure that all sides are oiled.
6. Cover with plastic wrap and let stand until doubled in volume, about 2 hours.
7. Line two baking sheets with parchment paper and brush or spray generously with canola oil. 
8. Divide the dough into 12 pieces and form into tight balls; transfer to the baking sheet, leaving space between each one. 
9. Lightly brush the tops of the bagels with oil. Cover loosely with plastic wrap and let stand for 30-45 minutes.
10. To form the bagels, poke your finger in the center of each ball to make a 1/2-inch hole. 
11. Return the bagels to the baking sheet, cover with plastic wrap and let stand until risen, about 1 hour. 
12. Test-a-bagel: Place 1 bagel to a bowl of cold water. If it floats, the bagels have risen sufficiently.

MAKE THE BAGELS
1. Preheat the oven to 475° and position racks in the lower and middle thirds. 
2. Place a lightly moistened kitchen towel on your counter.  
3. Line two baking sheets with parchment paper; spray the paper with oil. 
4. Bring a large, deep pot of water to a boil. 
5. Add baking soda to the pot.
6. Add 2 or 3 bagels to each pot, without crowding (the bagels will swell in the water) and simmer for 1 1/2 minutes. Flip the bagels and simmer for 1 1/2 minutes longer. 
7. Using a slotted spoon, transfer the bagels to the kitchen towel–lined sheet to drain. 
8. As they start to cool (but are still very wet), sprinkle the bagels generously with toppings.
9. Quickly transfer them to the parchment paper-lined baking sheets. Repeat with the remaining bagels.
10. Bake the bagels for 9 minutes.
11. Switch the pan positions (top and bottom).
12. Bake the bagels for 8 more minutes, until lightly browned.
13. Let cool at least 20 minutes.

Eat, Drink & Be Yummy!

Tuesday, January 22, 2013

Lemon Basil Sugar Cookies


There are a few things that I'm not very good at. One of them is rolling out sugar cookies. It's an unfortunate thing because I really LOVE sugar cookies. In all of the recipes and variations that I've attempted, I've never been able to pinpoint why I can't roll out a thin layer of dough and successfully cut it with a dinosaur shaped cutter. It's just not meant to be.

I love that you can see the basil and lemon zest. So pretty!!

This hasn't discouraged me from making sugar cookies though. My sugar cookies just aren't in fun shapes. They're round and that's how I like them. Round. Round sugar cookies are just as delicious as cowboy boot cookies. At least that's what I'll continue telling myself (and the kids) until the day that I'm able to master cookie cutters. At that point, I'm sure that I'll go into deep philosophical discussions about how heart shaped cookies taste superior to fire truck cookies.  In the meantime, I'm just happy to eat sugar cookies!

This is Alton Brown's basic sugar cookie recipe that has been modified a bit to add some UMPH. It's versatile enough to take on a wide variety of flavors.  Here I've added lemon zest, lemon juice and basil. 

Lemon Basil Sugar Cookies


Lemon Basil Sugar Cookies

Ingredients

3 cups all-purpose flour
3/4 teaspoon baking powder
1/4 teaspoon salt
1 cup unsalted butter, softened
1 cup sugar
1 egg, room temperature, beaten
1 tablespoon milk
1 teaspoon lemon extract (substitute vanilla if you don't have lemon)
Zest from 1 lemon
Juice from 1 lemon
4 pods frozen TJ's basil (or about 2 tablespoons of very finely chopped fresh basil)


Directions

Preheat oven to 375 degrees F.
1. Put the basil pods on a plate and bring to room temperature (this will take about 15 minutes)
2. Sift together flour, baking powder, and salt. Set aside. 
3. Place butter and sugar in large bowl of electric stand mixer and beat until light in color. 
4. Add egg and milk and beat to combine. 
5. Add lemon extract, lemon juice, lemon zest and defrosted basil and beat to combine. 
6. Put mixer on low speed, gradually add flour, and beat until mixture pulls away from the side of the bowl. 
7. Line a baking sheet (or two) with parchment paper.
8. Using a 1.5 teaspoon ice cream scoop, scoop dough onto cookie sheet, leaving at least 1 inch between each dough ball. Bake for approximately 8 minutes, until the bottom just starts to brown. (Don't over brown. They'll harden as they cool down.)
9. Remove from oven and cool on a wire rack.

Eat, Drink & Be Yummy!

Monday, January 7, 2013

Candied Ginger Baked Rice Pudding


Today I'm blogging about some of the ways that I intentionally use leftovers. The first was a savory dish that used leftover rice to create Sausage, Rice & Haricot Vert, a mouthwatering entree, can be found here.

Candied Ginger Baked Rice Pudding

This post brings me back to my NYT roots. We adapted Mark Bittman's recipe for baked rice pudding. When I have fresh ginger, I use it. When I don't, candied ginger is a pantry staple, so I always have a backup plan. Ginger adds a subtle little surprise in this rice pudding. It's unexpected sharpness is pleasant in this not-too sweet dessert. 

Makes for a great breakfast, snack or dessert!


Heat ginger, sugar and butter just until the butter melts


2 cups of cooked basmati rice into a baking dish


Add the cooled milk mixture to the rice


Candied Ginger Baked Rice Pudding

Candied Ginger Baked Rice Pudding

Adapted from Mark Bittman

Ingredients

2 cups milk
2 tablespoons (1/4 stick) unsalted butter, more for greasing pan
2 tablespoons Trader Joe's Candied Ginger, finely minced
3/4 cup sugar
Pinch salt
2 cups cooked rice
2 eggs, beaten

Directions

Preheat oven to 350 degrees.
1. In a small saucepan, over low heat, warm milk, butter, ginger, 3/4 cup sugar and salt just until butter melts; cool slightly. 
2. Butter a 4-to-6-cup baking dish; put rice in it.
3. Add eggs to cooled milk mixture and whisk; pour mixture over rice. 
4. Bake for 30 to 45 minutes, or until custard is set but still a little wobbly. 
5. Serve warm or at room temperature.

Eat, Drink & Be Yummy!

Sunday, December 9, 2012

Baked Doughnuts Sufganiyot with Strawberry Jam

After my success this year with baked Apple Cider Doughnuts, I knew that it was possible to replicate the achievement with baked doughnuts for Hanukkah. I know... I know... I know that the whole point of eating traditionally fried jelly doughnuts is that they celebrate the oil that lasted 8 nights. Unfortunately, the fried dough has a tendency to last much longer than 8 nights on my thighs.


When I was growing up, Hanukkah was a reason to have a family meal and a way to get some gelt. My parents never tried to compete with Christmas; that's what Russian New Year's was for!  When the kids came into existence, we've decorated and gifted every year. For the past 6 years, we've celebrate Hanukkah in our small apartment with the entire family over our traditional chili dinner. While fried food has it's gloriously delicious place in the world, this year it doesn't have a place as our celebratory dessert!


Measure out 1 1/3 cups of milk and warm slightly warmer than room temperature.


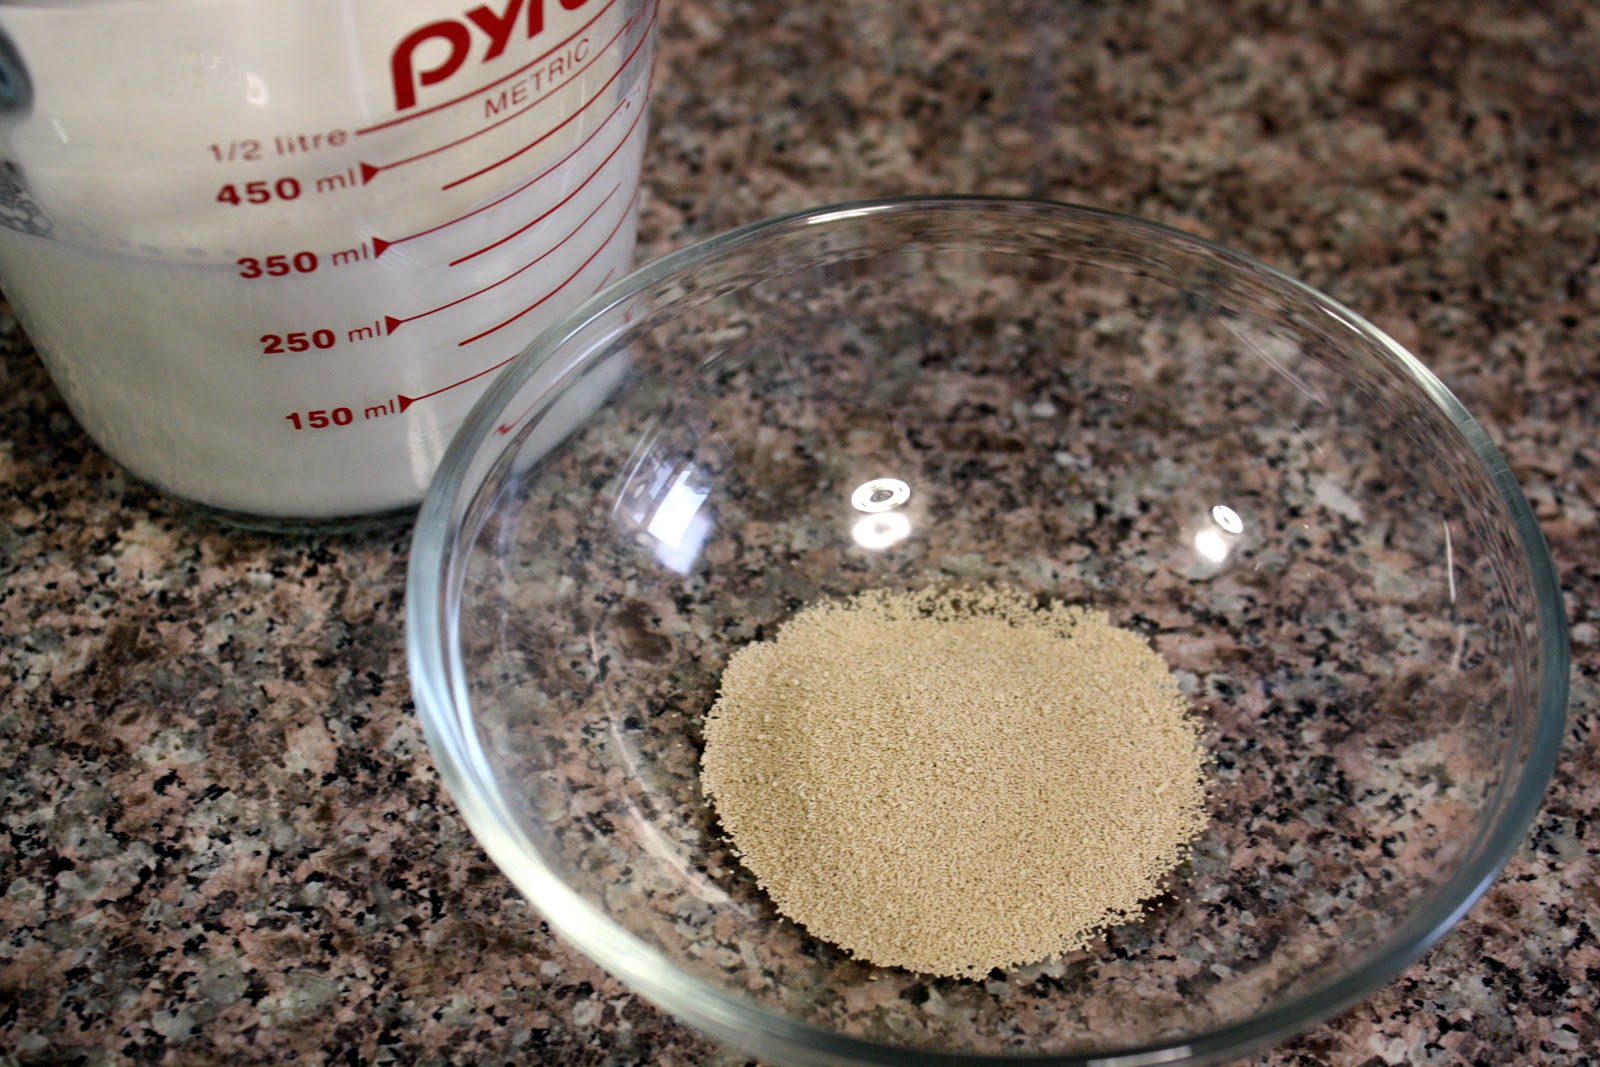
Add 1/3 cup of warm milk and stir the yeast.  Let it stand for at least 5 minutes.


The yeast will become bubbly and foamy.
If it doesn't, it was no longer active. Try again with another portion of yeast.


Cream the sugar and the room temperature butter, then add the other liquid ingredients.


Add the dry ingredients, remove the paddle attachment and replace it with the dough hook.


Shape the dough into a ball and place into a well oiled bowl.
Let stand for 1 1/2 hours.


The dough will double in size.
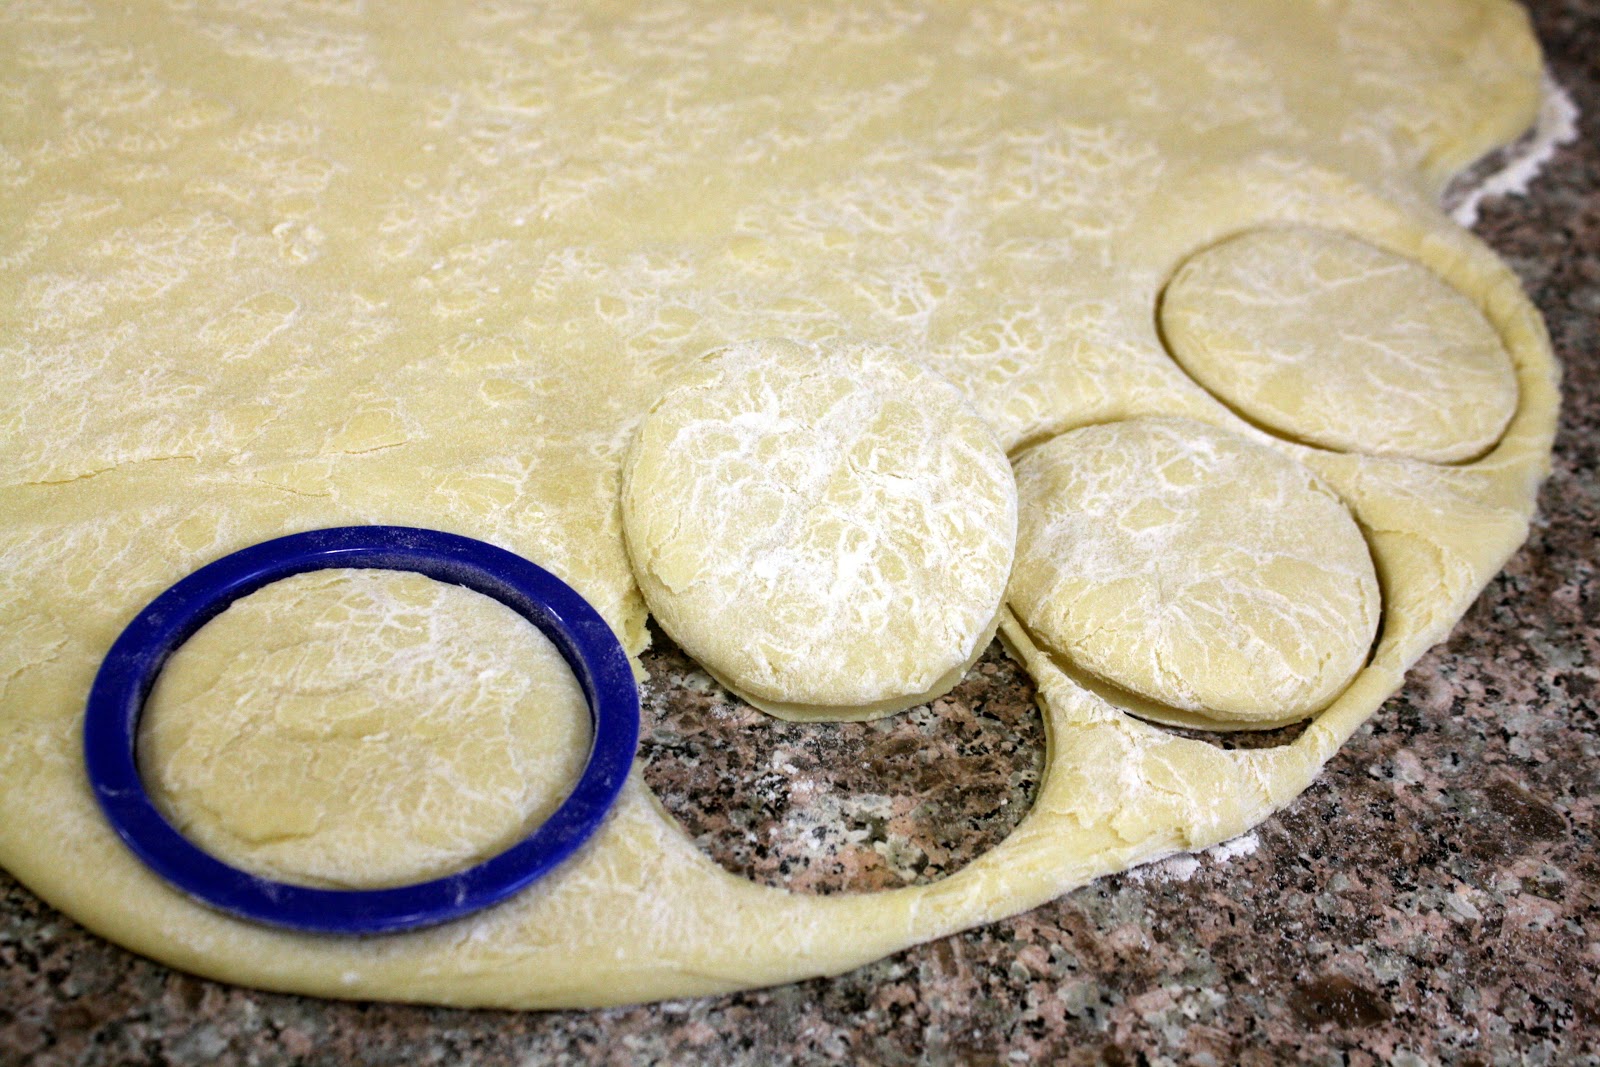
Roll out the dough to 1/2" thickness.
Use a cookie cutter to make doughnuts.

Place on a parchment paper lined baking sheet.
Cover with a kitchen towel and let rise for 1 1/2 hours.


Bake for 8-10 minutes
(I baked for 8 minutes. You don't want to over-bake or even brown these.
Under-baking would be preferred)


Fill with Strawberry Jelly,
brush with melted butter and sprinkle with confectioners sugar.


1 1/3 cups warm milk, 95 to 105 degrees (divided)
1 packet active dry yeast (2 1/4 teaspoons)
2 tablespoons butter
2/3 cup sugar
2 eggs
5 cups all-purpose flour (alternately, white whole wheat might work - haven't tried it yet)
A pinch or two of nutmeg, freshly grated


1 teaspoon fine grain sea salt


Place 1/3 cup of the warm milk in the bowl of an electric mixer. Stir in the yeast and set aside for five minutes or so. Be sure your milk isn't too hot or it will kill the yeast. Stir the butter and sugar into the remaining cup of warm milk and add it to the yeast mixture. With a fork, stir in the eggs, flour, nutmeg, and salt - just until the flour is incorporated. With the dough hook attachment of your mixer beat the dough for a few minutes at medium speed. This is where you are going to need to make adjustments - if your dough is overly sticky, add flour a few tablespoons at a time. Too dry? Add more milk a bit at a time. You want the dough to pull away from the sides of the mixing bowl and eventually become supple and smooth. Turn it out onto a floured counter-top, knead a few times (the dough should be barely sticky), and shape into a ball.

Transfer the dough to a buttered (or oiled) bowl, cover, put in a warm place (I turn on the oven at this point and set the bowl on top), and let rise for an hour or until the dough has roughly doubled in size.

Punch down the dough and roll it out 1/2-inch thick on your floured countertop. Most people (like myself) don't have a doughnut cutter, instead I use a 2-3 inch cookie cutter to stamp out circles. Transfer the circles to a parchment-lined baking sheet and stamp out the smaller inner circles using a smaller cutter. If you cut the inner holes out any earlier, they become distorted when you attempt to move them. Cover with a clean cloth and let rise for another 45 minutes.

Bake in a 375 degree oven until the bottoms are just golden, 8 to 10 minutes - start checking around 8. While the doughnuts are baking, place the butter in a medium bowl. Place the sugar and cinnamon in a separate bowl.

Remove the doughnuts from the oven and let cool for just a minute or two. Dip each one in the melted butter and a quick toss in the sugar bowl. Eat immediately if not sooner.

Makes 1 1/2 - 2 dozen medium doughnuts.


Strawberry Jam


Happy Hanukkah!


Eat, Drink & Be Yummy!