
Our family motto is "Bacon and Butter Make Everything Better". When both of those ingredients combine in a single dish? Magic!
 |
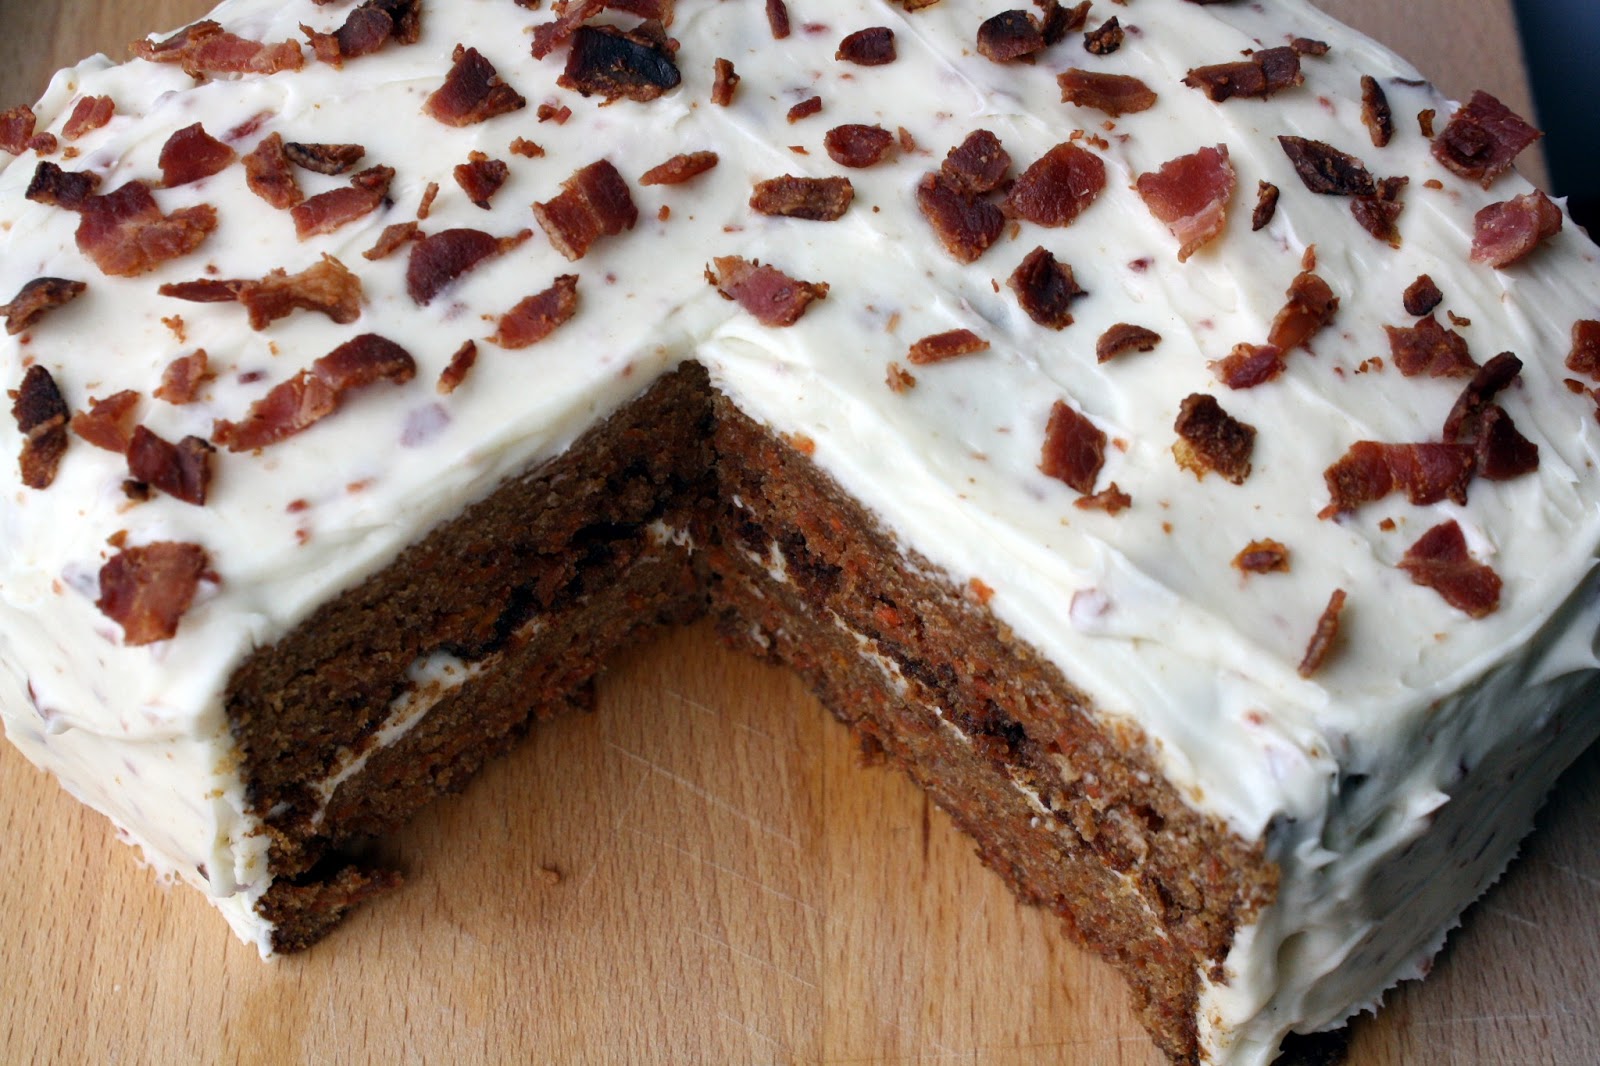
| Gluten Free Carrot Cake with Bacon Cream Cheese Frosting |
I'm really picky about my carrot cake. I like it with carrots, but some people add nuts. Others use coconut. And yet others include raisins. I'm a purist. It's a Carrot Cake. Not a Carrot-Nut- Raisin-Coconut Cake. If you insist on the additional elements when you make this cake, go for it! But I'm a simple girl.
When it comes to the frosting though... well, I'm more than happy to experiment. The salty and smokey addition of bacon compliments the sweetness of the cream cheese. You'll love it!
 |
| Getting ready to pull it all together... |
 |
| Sift the dry ingredients (just noticed my reflection in the sifter! Ha!) |
 |
| Add butter/oil, applesauce (I used strawberry applesauce) and vanilla to the beaten sugar and eggs. |
 |
| Shredded Carrots. Definitely worth getting the food processor out of the cabinet. |
 |
| Combine shredded carrots with cake batter. |
 |
| Gluten Free Carrot Cake with Bacon Cream Cheese Frosting |
Gluten Free Carrot Cake with Bacon Cream Cheese Frosting
Gluten Free Carrot Cake:
Ingredients
2 cups sugar
4 eggs
8 ounces (2 sticks) butter, melted or your favorite vegetable/canola oil
1/2 cup apple sauce
2 cups all-purpose gluten-free flour
2 teaspoons baking soda
2 teaspoons gluten-free baking powder
1 teaspoons cinnamon
1 teaspoon salt
2 teaspoons vanilla extract
1 pound carrots, grated
Directions
Preheat oven to 350° F
This recipe makes: two 9" round cake pans, one 9"x13" pan or muffin/cupcake tins (makes 36). I used two 8"x8" square cake pans. Grease your baking vessel or line your muffin/cupcake tins.
1. Beat sugar and eggs in a large mixing bowl with an electric beater or in a stand mixer.
2. Add butter (or oil) and vanilla and beat until smooth.
3. In a large bowl, combine gluten-free flour mix, baking soda, baking powder and salt. Sift to combine. (Using a sifter will allow for a lighter cake texture. If you don't have a sifter, whisk well)
4. Add the dry ingredients to the wet ingredients and beat until blended.
5. Stir in grated carrots.
6. Pour the batter into prepared pans.
7. Bake for 40-55 minutes (depending on the size of your baking vessel), until a toothpick comes out clean. Cupcake cooking time is 30-35 minutes.
8. Let completely cool before removing from pan and before icing.
Bacon Cream Cheese Frosting:
Ingredients
8 ounces (2 sticks) unsalted butter, room temperature
12 ounces cream cheese, room temperature
1 pound confectioners' sugar, sifted
3/4 teaspoon pure vanilla extract
12 ounces bacon
Directions
Preheat oven to 450 degrees.
1. Line a baking sheet with foil. Lay out bacon in a single layer.
2. Bake the bacon for 15 minutes, until fragrant and crispy.
3. Remove from oven, cool on a paper towel lined plate.
4. Finely chop all but two slices of the bacon (to incorporate into the frosting). The other two slices should be coarsely chopped (to top the frosting).
5. Beat butter and cream cheese with a mixer on medium-high speed until fluffy, 4-5 minutes.
6. Add confectioners sugar, in thirds. Beat at low speed until incorporated. Repeat until all confectioners sugar has been incorporated.
7. Add vanilla and mix to incorporate.
8. Add finely chopped bacon. With a wooden spoon, mix to combine.
Build your cake:
1. Place bottom layer on a cake plate.
2. Spread 1/3 of the frosting on the top of the cake.
3. Place the second layer on top of the frosted bottom layer.
4. Spread remaining 2/3 of the frosting on the top and sides of the cake.
5. Refrigerate for at least 2 hours and up to 3 days.
Eat, Drink & Be Yummy!


 "Pin It")


